
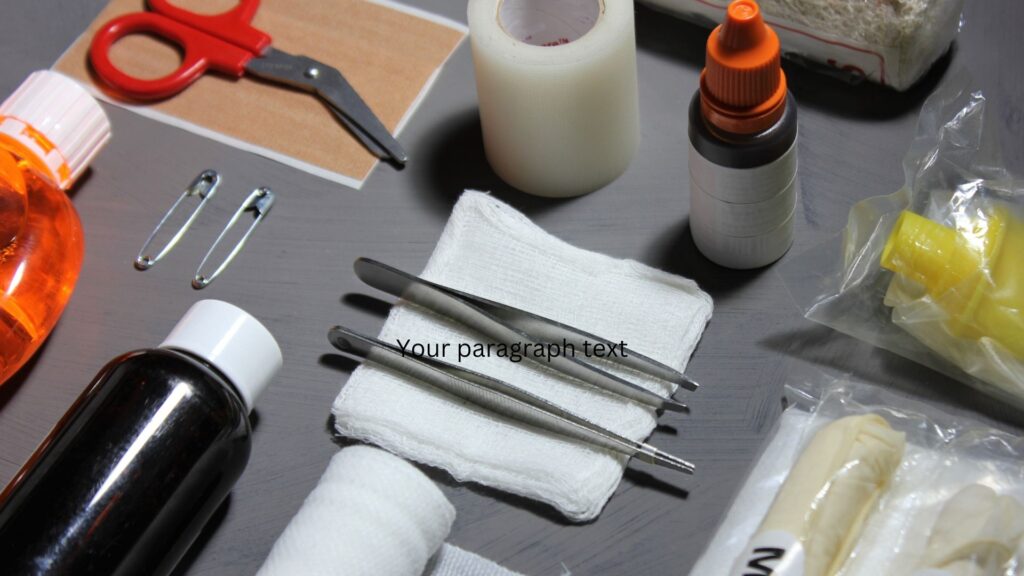
Blister care and first aid in general are two things that you will hope you will rarely have to utilize during your time out hiking, but when you do they will be important as soon as possible.
Many small problems on the trail appear to be nothing at the beginning of the hike.
However, these may develop rapidly into the main problem which will cut short your hike for the day or turn an extended trip into a nightmare.
Fortunately, most of the common issues that occur while hiking are actually quite easy to treat if you prepare properly.
A well-prepared hiker does not require many items (or weight) or complex equipment, for that matter.
In this short guide, we will explain what’s really necessary in regards to first aid and blister treatment while out on hikes.
Instead of attempting to detail all there is to know about first aid, we’ll instead provide useful information on the practical applications of treatments for hiking and walking holidays throughout the UK and Europe.
- Quick Guide: First Aid & Blister Care at a Glance
- How to Build a Practical First Aid Kit
- Blister Prevention: The First Line of Defence
- Treating Blisters on the Trail
- First Aid Essentials for Hiking
- First Aid in Real Hiking Conditions
- Common Mistakes to Avoid
- Fit, Comfort & Practical Tips
- How First Aid Fits Into Your Overall Setup
- Care, Maintenance & Readiness
- Explore First Aid & Blister Care Options by Use Case
- FAQs About First Aid & Blister Care
- Where to Next?
Quick Guide: First Aid & Blister Care at a Glance
Use these as starting points to match your setup to your hiking style.
Short Day Hikes
A minimal kit covering basics like plasters, blister prevention, and small cuts.
Long Day Hikes
A slightly expanded kit with better blister care and a few additional essentials.
Multi-Day Walking Holidays
A well-balanced kit that handles repeated use, foot care, and minor issues over time.
Long-Distance Treks & Remote Routes
A more complete setup with added backup and redundancy.
Long-Distance Treks & Remote Routes
A more complete setup with added backup and redundancy.
Lightweight & Minimal Setups
A stripped-back approach focusing only on essential items.
How to Build a Practical First Aid Kit
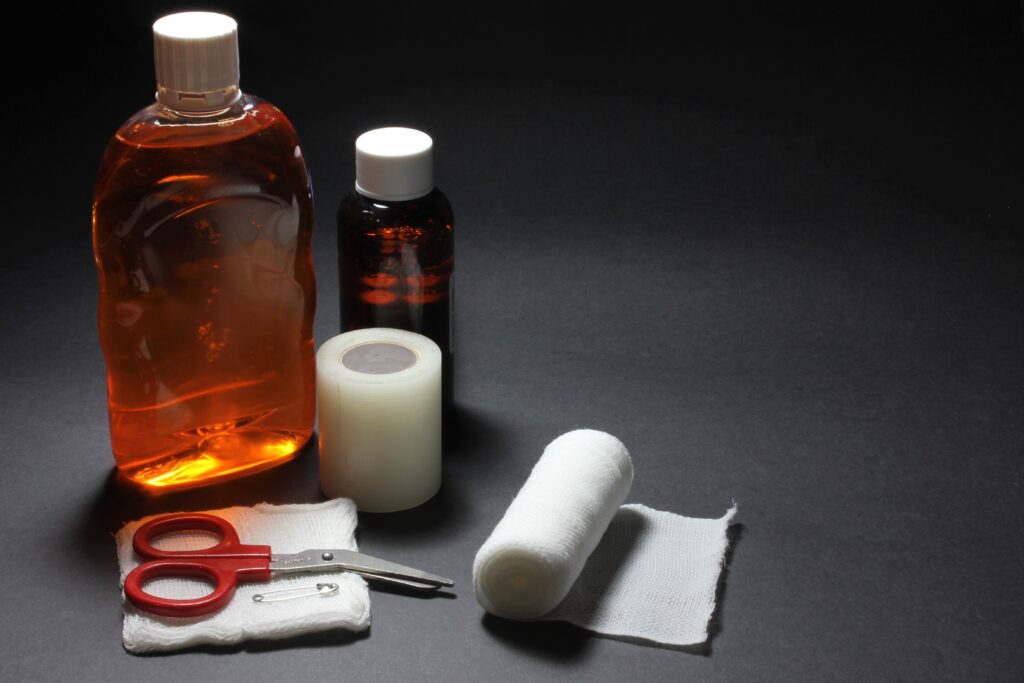
A good hiking first aid kit is just one part of your day hiking essentials, and it isn’t about carrying everything.” (Link “day hiking essentials”
It’s about carrying what you’re most likely to need.
What First Aid on the Trail Actually Covers
For most hikers, first aid needs are simple and predictable.
Common issues include:
- blisters and hot spots
- small cuts and scrapes
- minor strains or discomfort
- general foot care
While blisters are most common, it’s also worth knowing how to deal with ankle injuries while hiking on more challenging terrain.” (Link “ankle injuries while hiking”
You’re not preparing for extreme scenarios so much as you’re preparing for the things that happen most often.
“First time on the trail? Hiking for Beginners has your back.”
Why Blister Care Matters So Much
Blisters are one of the most common problems on the trail, as well as one of the easiest to prevent or manage.
Left untreated, a small hot spot can turn into a painful blister that affects how you walk. Over multiple days, this can lead to discomfort that impacts the entire trip.
Good blister care:
- prevents small issues from getting worse
- keeps you comfortable over longer distances
- allows you to continue hiking without changing your stride
It’s one of the most important parts of any hiking kit.
Blisters aren’t the only foot issue hikers experience—conditions like hiker’s toe can also develop on long-distance walks.
Keeping Your Kit Simple
A common mistake is overpacking first aid supplies.
A good kit should be:
- compact
- easy to access
- focused on practical use
Learning how to organise your hiking backpack makes it much easier to access first aid supplies when you need them.” (Link “organise your hiking backpack”
Blister Prevention: The First Line of Defence
Preventing blisters is far easier than treating them!
Footwear and Fit
Most blister problems start with poor fit for the following reasons:
- footwear that’s too tight or too loose increases friction
- pressure points lead to hot spots
- poor support can change how your foot moves
A well-fitting pair of boots or shoes is seriously the best prevention tool you have.
Socks and Moisture Management
Moisture increases friction…and friction leads to blisters.
The right hiking socks will need to accomplish each of the following:” (Link “right hiking socks”;
- reduce rubbing
- manage moisture
- improve overall comfort
Remember that keeping your feet as dry as possible always makes a noticeable difference, especially on longer hikes.
Recognising Hot Spots Early
A “hot spot” is the early stage of a blister. It comes in the form of:
- slight irritation
- warmth or rubbing in a specific area
Stopping early to deal with it is far easier than waiting until it becomes painful.
Treating Blisters on the Trail
Even with good preparation on your part, blisters can still happen!
Basic Blister Treatment
To take care of a hiking blister on your foot, first use an antibacterial wipe to disinfect the blister.
Then, apply a hydrocolloid band-aid or moleskin directly over the blister to prevent friction against it while you are walking.
If the blister is very big and bothersome, you can use alcohol to disinfect a sterile needle (you can get needles at most pharmacies).
Feel free to poke a hole in one side of the blister so that the fluid will be able to come out, but do not cut through all layers of skin since this would create an open wound.
Then once you have drained some fluid from the blister, cover the entire blister with the dressing and secure it with athletic tape so that the dressing does not become dislodged during long hikes.
The goal is to:
- protect the affected area
- reduce friction
- allow you to continue walking comfortably
Simple treatments are usually enough for most hiking situations.
When to Stop and Adjust
If you begin to notice that a blister is causing you to alter your walking style, STOP IMMEDIATELY.
When you continue to walk through the pain it may turn what was originally a slight blister, into a large issue as well as infection in the area.
Find a flat surface on the trail to stand on, take off one of your boots (and leave the other one on), and look at your foot for possible areas of pressure such as bunched up socks or loose lacing.
Also make sure there is no extra space between your heel and the back of the boot.
Once you have identified the problem, re-tie your boot tighter around the ankle. If possible, switch out wet socks for dry ones and place moleskin over the sore area.
A few minutes of attention can prevent hours of discomfort later.
🗒️ Free Checklist: “Pack light, pack right — download The Ultimate Hiking Packing List.”
First Aid Essentials for Hiking
A practical kit doesn’t need to be large.
It just has to be effective.
Core Items to Include
Most hiking first aid kits include:
- basic plasters or bandages
- blister treatment supplies
- antiseptic wipes
- tape or dressing materials
These cover the majority of minor issues on the trail.
Additional Items for Longer Trips
For multi-day or remote hikes, you might add:
- extra blister care supplies
- support bandages
- basic pain relief (where appropriate)
- small backup items
The goal is still simplicity, just with a bit more coverage!
First Aid in Real Hiking Conditions
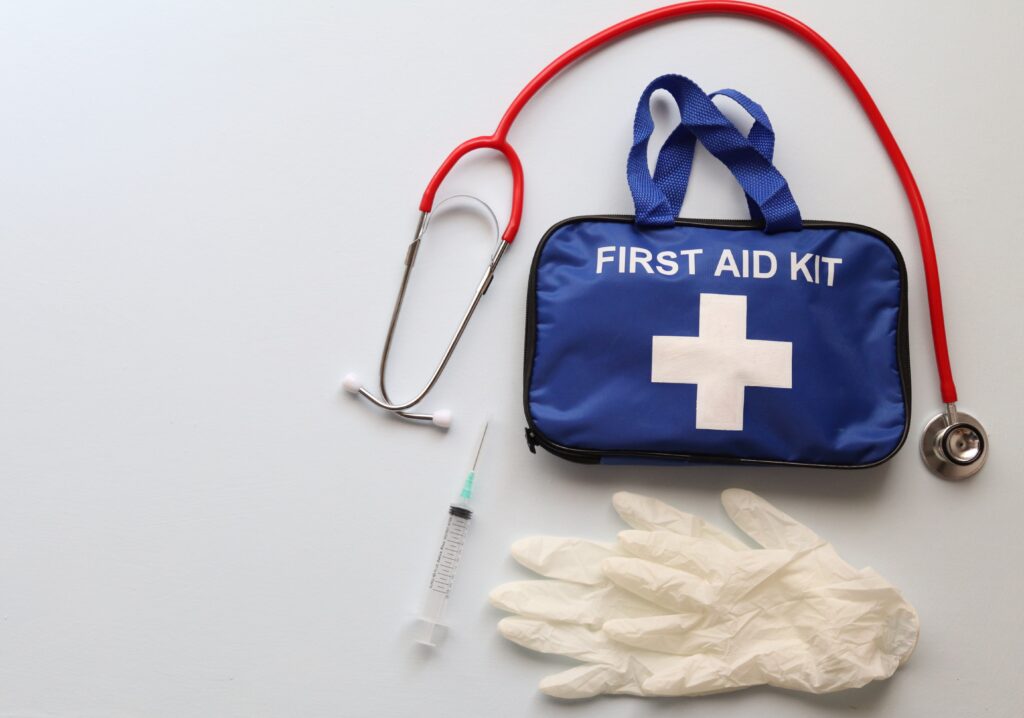
How you use your kit depends on the type of hike:
Short Day Hikes
- minimal kit
- focus on prevention
- easy access
You’re never far from help, so simplicity works well.
Long Day Hikes
- more time on your feet
- higher chance of minor issues
- blister care becomes more important
Small problems are more likely to develop over longer distances.
Multi-Day Walking Holidays
- repeated use over several days
- foot care becomes essential
- comfort matters more than minimal weight
This is where a well-thought-out kit makes a noticeable difference.
Remote or Long-Distance Routes
- limited access to support
- more self-reliance required
- slightly more comprehensive kit
Remember to still be focused on realistic scenarios and not extremes.
Common Mistakes to Avoid
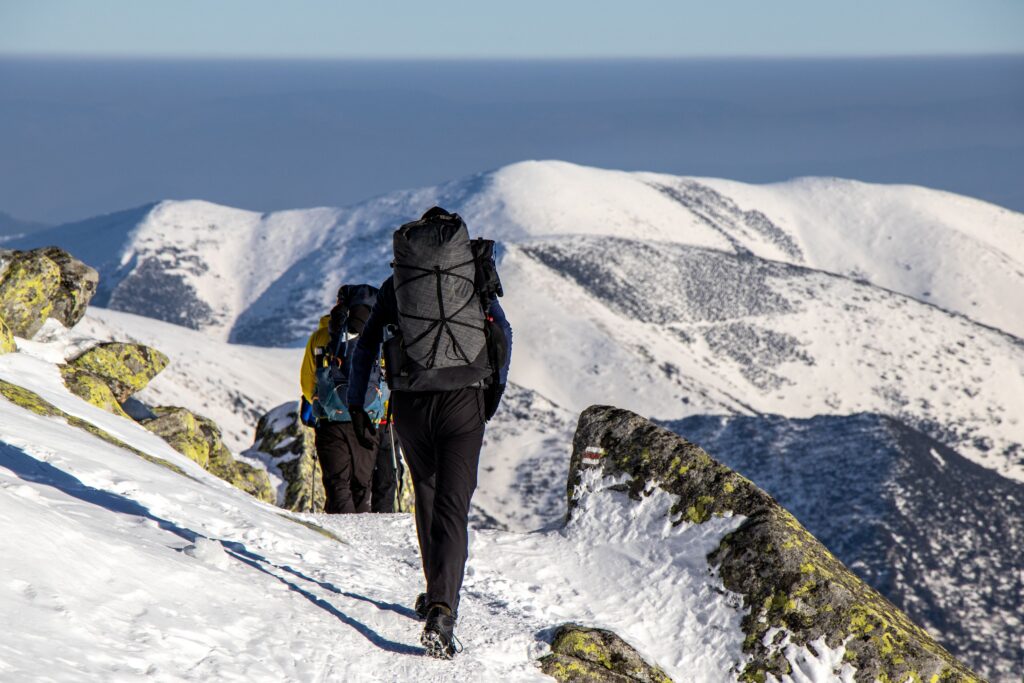
- carrying too much unnecessary gear
- ignoring early signs of blisters
- relying on poor footwear fit
- packing items you don’t know how to use
- burying your kit deep in your pack
Simple, accessible setups work best.
Fit, Comfort & Practical Tips
- keep your kit easy to access
- check it before each trip
- replace used or worn items
- know where everything is
In the moment, simplicity matters.
Remember that staying hydrated on a hike also helps you stay comfortable and perform at your best over long distances.
How First Aid Fits Into Your Overall Setup
First aid connects closely with other parts of your gear, including your layering system, footwear, and backpack.” (Link “layering system
- footwear affects blister risk
- socks and layering influence comfort
- backpack setup affects accessibility
A well-balanced system reduces the need for intervention.
Care, Maintenance & Readiness
- restock after each trip
- keep items dry and organised
- check expiry dates where relevant
- refresh your kit periodically
A first aid kit is only useful if it’s ready when you need it.
Once you’re off the trail, good post-hike foot care helps reduce soreness and prepares you for your next adventure.” (Link “post-hike foot care
Explore First Aid & Blister Care Options by Use Case
If you want to refine your setup further, these guides break things down into more specific scenarios:
- Best Blister Prevention Products for Hiking
- Simple tools to reduce friction and avoid problems before they start.
- Simple tools to reduce friction and avoid problems before they start.
- Best Blister Treatment Kits
- Compact solutions for managing blisters on the trail.
- Compact solutions for managing blisters on the trail.
- Best Compact First Aid Kits for Hiking
- Pre-built kits designed for convenience and portability.
- Pre-built kits designed for convenience and portability.
- Hiking First Aid Kit Checklist (Day vs Multi-Day)
- A practical breakdown of what to carry for different types of hikes.
FAQs About First Aid & Blister Care
Do I need a first aid kit for short hikes?
It’s a good idea to carry a basic kit, even on shorter routes.
What’s the most important item for hiking first aid?
Blister care is often the most commonly used.
How do I prevent blisters?
Good footwear, proper socks, and managing moisture are key.
Should I carry a large first aid kit?
Not usually; a simple, focused kit works best.
How often should I check my kit?
Before each trip, and after anything has been used.
Where to Next?
To build a complete setup, you may also want to explore topics such as:
- Buyers Guide: Footwear
- Buyers Guide: Layering Systems
- Buyers Guide: Day Packs
Many of our Best Hikes and Walking Holiday guides also show how preparation affects real-world hiking experiences.


